


Black spots that won’t scrub off, gaps between the tub and the wall, caulk peeling away in strips. If that sounds like your bathroom, it’s time to learn how to recaulk a bathtub. The good news is this is one of the easiest and cheapest DIY jobs in the house. With about $20–$40 in supplies and an afternoon, you can get a clean, watertight seal that looks professionally done.
Recaulking isn’t just about looks. That bead of caulk keeps water from leaking behind the tub, where it can rot the subfloor, ruin drywall, and grow hidden mold. Here’s exactly how to do it right.
Project Overview
| Difficulty | Beginner |
| Active time | 1.5–3 hours (most of it removing old caulk) |
| Wait time | Usually 24 hours before using the tub (check your caulk label) |
| Cost | About $20–$40 |
When Should You Recaulk a Bathtub?
Most tub caulk lasts around 3 to 5 years, depending on how often the shower is used and how well the bathroom is ventilated. Recaulk when you see:
- Black or pink mold spots that come back after cleaning
- Cracks, gaps, or caulk pulling away from the tub or tile
- Caulk that has turned hard, yellow, or crumbly
- Water stains or soft spots on the floor or ceiling below the bathroom
If your bathroom also has a lingering damp smell, moldy caulk may be part of the cause. See our guide on how to get rid of a musty smell in your house for the bigger picture.
Tools and Materials
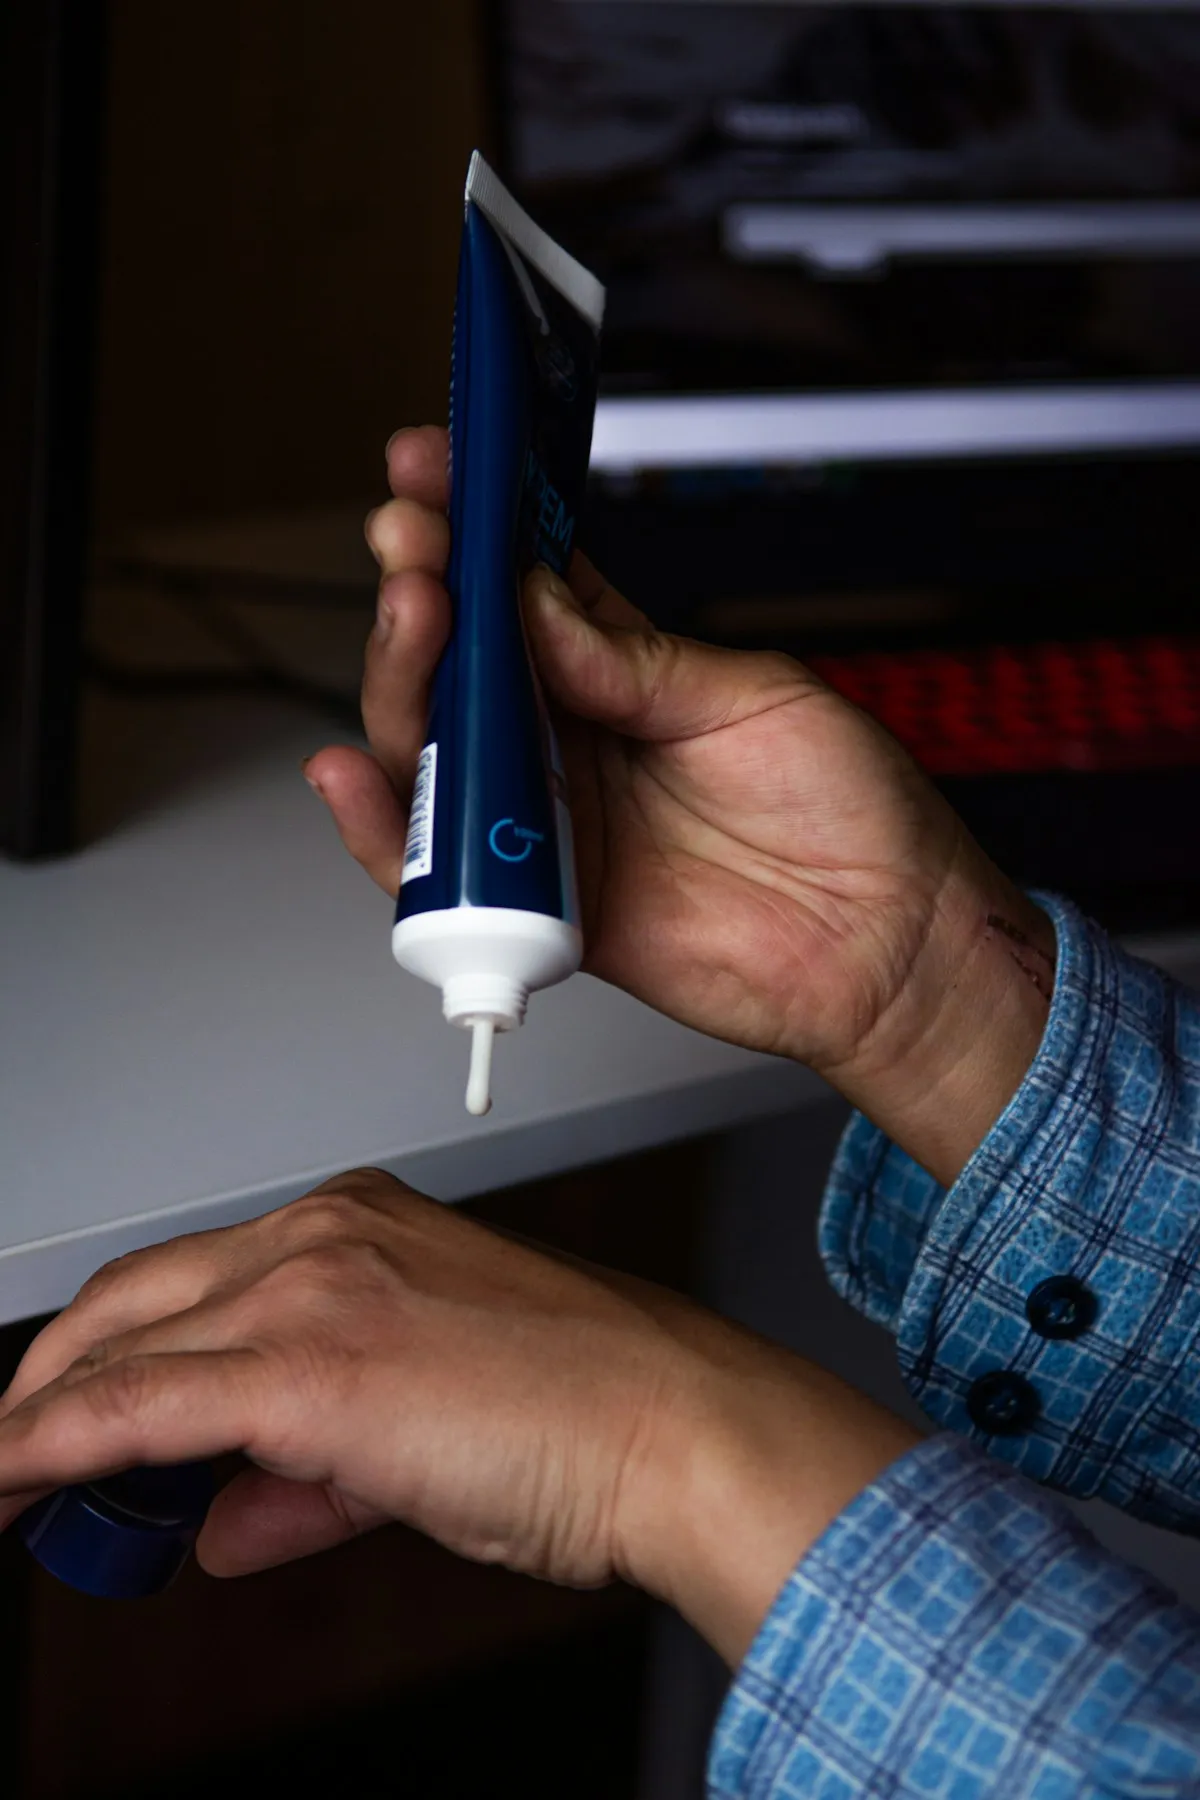
- 100% silicone caulk labeled for kitchen and bath, with mold or mildew resistance
- Caulk gun (a dripless model with a smooth trigger makes life easier)
- Plastic caulk removal tool or plastic scraper
- Utility knife or razor blade scraper
- Caulk remover gel (optional, helpful for stubborn caulk)
- Rubbing alcohol (isopropyl)
- Painter’s tape
- Clean, lint-free rags or paper towels
- Diluted bleach solution or mold cleaner
- Caulk smoothing tool or a gloved fingertip
- Gloves and a small trash bag
Silicone vs. Acrylic Caulk: Which Should You Use?
| 100% silicone | Acrylic latex (“siliconized”) | |
|---|---|---|
| Water resistance | Excellent | Good |
| Flexibility | Excellent, handles tub movement | Moderate, can crack over time |
| Ease of use | Harder to smooth, messier | Easy to tool, cleans up with water |
| Paintable | No | Yes |
| Best for | Tub-to-wall joint | Trim and areas that get painted |
For the joint between the tub and the wall, 100% silicone is the better choice. It stays flexible and stands up to constant water. Pick white or clear to match your tub, and look for “mold-resistant” on the label.
Step-by-Step: How to Recaulk a Bathtub
Step 1: Remove all the old caulk
New caulk won’t stick well to old caulk, so it all has to go. Run a utility knife along the top and bottom edges of the old bead to cut it loose. Then use a plastic removal tool to pry and peel it out. Plastic tools are safer for acrylic and fiberglass tubs, which scratch easily.
If the caulk is stubborn, apply caulk remover gel, wait the time listed on the package (often a few hours), and scrape again. Use a razor scraper carefully on tile, holding it at a low angle.
Step 2: Kill any mold
Once the caulk is out, you’ll often find mold in the gap. Clean it with a diluted bleach solution or a mold cleaner and a small brush. Wear gloves, open a window, run the fan, and never mix bleach with ammonia or other cleaners. Rinse with water when done.
Step 3: Clean with alcohol and let it dry completely
Wipe the whole joint with rubbing alcohol to remove soap scum and any leftover residue. This is what helps the new caulk bond. Now let the area dry. Leave the fan running and, ideally, give it several hours or overnight. A hair dryer on a low setting can speed things up. Caulk over a damp joint is the most common reason for early failure.
Step 4: Fill the tub with water
This is the pro trick most people miss. A tub full of water is heavier and sits slightly lower, the same way it does when someone’s taking a bath. Caulking it in that position means the bead won’t stretch and crack the first time the tub is used. This matters most with acrylic, fiberglass, and steel tubs. Leave the water in until the caulk has set, then drain it.
Step 5: Tape off clean lines
Put painter’s tape on the tub and on the wall, leaving a gap about 1/8 to 1/4 inch wide over the joint. Press the tape edges down firmly. This is the secret to straight, professional-looking lines.
Step 6: Cut the tube and load the gun
Cut the nozzle at a 45-degree angle, starting with a small opening (about 1/8 inch). You can always cut more, but you can’t make it smaller. Puncture the inner seal with the wire on the caulk gun, then load it.
Step 7: Apply a steady bead
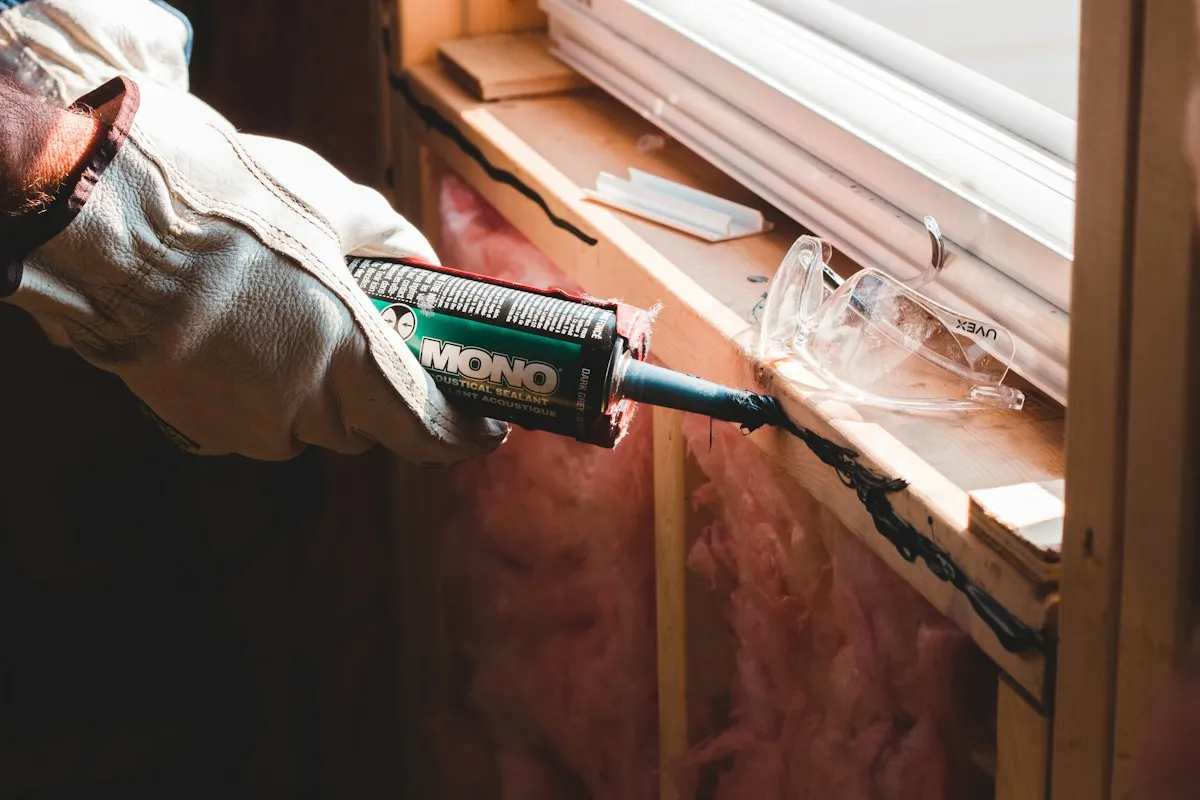
Start in a corner. Hold the gun at a 45-degree angle and push the bead along the joint in one smooth, continuous motion, squeezing with steady pressure. Try to work wall by wall without stopping. If you need to stop, release the trigger and back off pressure so it doesn’t keep oozing.
Step 8: Smooth the bead
Run a caulk smoothing tool or a gloved fingertip dampened with a little soapy water along the bead. Use light, even pressure in one pass. This pushes the caulk into the joint and gives it a slightly concave finish. Wipe excess off your tool or finger often.
Step 9: Remove the tape right away
Pull the tape off while the caulk is still wet, slowly, at a 45-degree angle away from the joint. If you wait until it dries, the tape can tear the bead. Gently re-smooth any spots that lift.
Step 10: Let it cure
Leave the water in the tub until the caulk has set, then drain it. Most silicone needs about 24 hours before it can get wet, though some fast-cure products are ready sooner and some need longer. Always follow the label. Keep the bathroom ventilated during this time.
Pro Tips for a Better Result

- Check the temperature. Most caulks apply best between about 40°F and 90°F. Avoid caulking in a cold or steamy bathroom.
- Practice first. Run a test bead on a piece of cardboard to get a feel for the speed and pressure.
- Clean smears fast. Uncured silicone wipes off with a dry rag. Once it’s cured, you’ll need to scrape or cut it away.
- Use backer rod for wide gaps. If the gap is wider than about 1/4 inch, push in foam backer rod first so the caulk isn’t too thick.
- Don’t caulk over caulk. It might look fine for a week, but it will peel and trap moisture.
- Keep it ventilated afterward. Running the bathroom fan after every shower will help your new caulk stay mold-free much longer.
Common Mistakes to Avoid
- Leaving bits of old caulk behind
- Caulking over a damp or soapy surface
- Cutting the nozzle too large, which creates a thick, messy bead
- Using latex caulk for the tub joint
- Letting the tape dry in place
- Showering before the caulk has cured
When to Call a Pro
Recaulking is a DIY-friendly job, but call a professional if you find soft or rotted drywall behind the old caulk, loose tiles, a tub that moves when you step in it, or signs of water damage on the ceiling below. Those point to a bigger leak that new caulk won’t fix.
Frequently Asked Questions
How long does bathtub caulk take to dry?
Silicone is usually dry to the touch in 30 minutes to an hour, but most products need around 24 hours before the tub can be used. Check your product’s label for exact times.
Can I put new caulk over old caulk?
No. New caulk won’t bond properly to old caulk and will peel away, often trapping moisture and mold underneath.
How often should you recaulk a bathtub?
Every 3 to 5 years is typical, or sooner if you see mold, cracks, or gaps.
Why does my tub caulk keep getting moldy?
Usually because the old mold wasn’t fully removed, the joint was damp when caulked, or the bathroom doesn’t get enough ventilation. Use mold-resistant silicone and run the fan after every shower.
Should I fill the tub with water before caulking?
Yes. It weighs the tub down to its in-use position so the caulk doesn’t stretch and crack later.
How much does it cost to recaulk a tub?
Doing it yourself typically costs about $20–$40 in supplies. Hiring a handyman usually costs more depending on your area and the job and for guide please visit.
Final Thoughts
A fresh bead of caulk can make an old bathroom look years newer, and it protects your home from hidden water damage. Now that you know how to recaulk a bathtub the right way, the secret comes down to four simple habits: take your time on removal and cleaning, use 100% silicone, fill the tub with water, and tape your lines. Get those right, and you’ll enjoy a clean, watertight seal that lasts for years.



Pingback: How To Fix A Leaky Faucet: Step-by-Step Guide
Pingback: How To Clean Glass Shower Doors: Remove Soap Scum And Hard