


Few things are as annoying as a floor that announces every step you take. Creaky floorboards wake up sleeping kids, give away midnight snack runs and make a home feel older than it is. The good news is that most squeaks are easy and cheap to fix yourself.
This guide explains why floors creak, how to find the exact source of the noise and how to fix creaky floorboards using seven proven methods, from quick fixes that take five minutes to permanent repairs from below.
Why Do Floorboards Creak?
Floors creak when wood rubs against wood or against nails. This usually happens because of:
- Seasonal changes: Wood expands in humid months and shrinks in dry months, leaving small gaps.
- Loose nails: Over time, nails holding the subfloor or boards to the joists can work loose.
- Gaps between subfloor and joists: When the subfloor isn’t tight against the joist, it moves and rubs when you step on it.
- Boards rubbing together: Hardwood boards can rub along their edges as they flex.
- Settling: Homes naturally settle over the years, and framing shifts slightly.
Most creaks are harmless. But if a floor feels spongy, bouncy or uneven, there may be a structural or moisture issue, and it’s worth having a professional take a look.
Step 1: Find the Exact Source of the Squeak
Before you fix anything, pinpoint where the noise is coming from.
- Walk slowly across the area and listen. Ask someone to walk while you listen closely at floor level.
- Mark the spot with painter’s tape.
- Check from below if possible. If you have an unfinished basement or crawl space, have someone step on the squeaky spot while you watch the joists and subfloor from underneath. Look for movement, gaps or nails that wiggle.
- Locate the joists. Use a stud finder, or look for nail lines in the floor. Joists are usually spaced 16 inches apart, measured center to center.
What You’ll Need
Depending on the fix, you might need:
- Painter’s tape
- Stud finder
- Talcum powder, baby powder or powdered graphite
- Drill and screwdriver
- Wood screws and trim-head screws
- Squeak repair kit for carpet or hardwood
- Wood shims
- Construction adhesive and caulk gun
- Wood filler or wax filler stick in a matching color
- Scrap wood blocks
7 Ways to Fix Creaky Floorboards
Fix 1: Powder Between the Boards (Quickest Fix)
For hardwood floors where boards rub together, a lubricant can quiet the noise.
- Sprinkle talcum powder, baby powder or powdered graphite over the seams of the squeaky boards.
- Work it into the gaps with a soft brush or by stepping on the area.
- Wipe away the excess.
This is a temporary fix but works surprisingly well for minor squeaks.
Fix 2: Screw the Floor Down From Above (Hardwood)
When a board has lifted slightly from the subfloor, you can secure it from the top.
- Find the joist under the squeak.
- Pre-drill a small pilot hole at an angle through the board and into the joist to prevent splitting.
- Drive a thin trim-head screw into the hole until the head sits just below the surface.
- Fill the hole with color-matched wood filler or a wax filler stick.
Fix 3: Use a Squeak Repair Kit (Through Carpet)
For carpeted floors, specialty kits let you fix the squeak without pulling up the carpet.
- Find the joist with a stud finder.
- Use the kit’s guide to drive the special scored screw through the carpet and subfloor into the joist.
- Snap off the screw head below the surface using the tool in the kit.
- Fluff the carpet fibers to hide the spot.
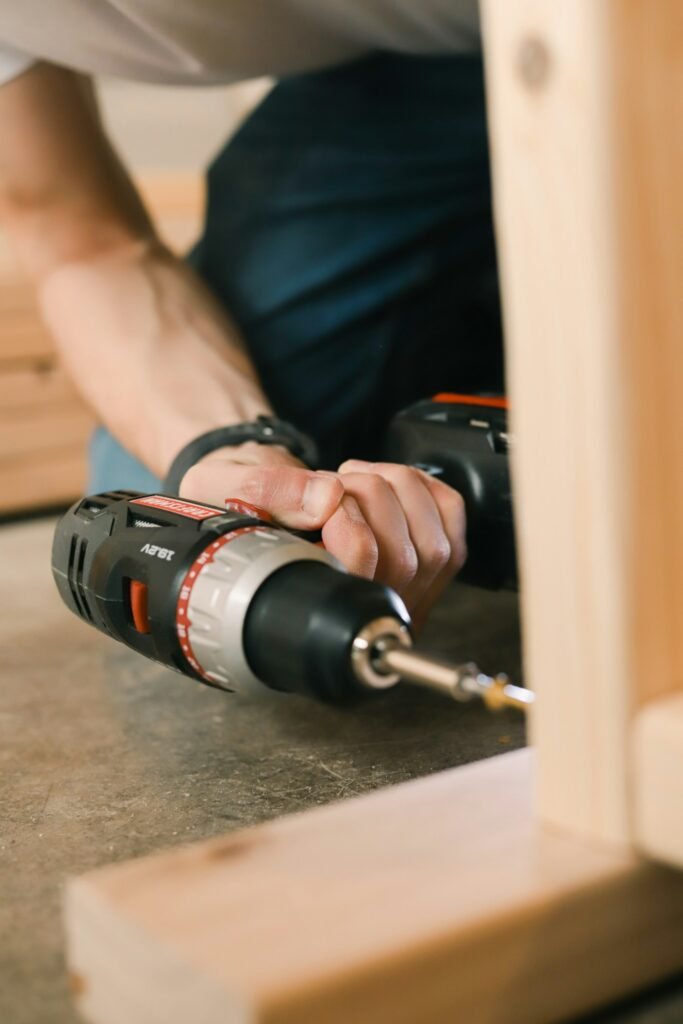
Fix 4: Add Shims Between the Joist and Subfloor (From Below)
If you can see a gap between the joist and the subfloor from the basement, shims are a simple solution.
- Apply a thin bead of construction adhesive to a wood shim.
- Gently tap the shim into the gap. Don’t force it, or you might lift the floor and create a hump.
- Let the adhesive cure.
Fix 5: Run Adhesive Along the Joist
For longer gaps along a joist, use construction adhesive instead of many shims.
- Apply a bead of construction adhesive along both sides of the joist where it meets the subfloor.
- Let it cure according to the product’s directions.
Fix 6: Screw the Subfloor From Below
If the subfloor itself is moving, secure it from underneath.
- Have a helper stand on the squeaky spot to press the floor down.
- Drive wood screws up through the subfloor near the joist. Choose screws short enough that they won’t poke through your finished floor.
Fix 7: Add a Cleat or Blocking
For a larger area where the subfloor flexes between joists, attach a piece of scrap lumber alongside the joist.
- Cut a piece of 2×4 or 2×6 about 2 feet long.
- Apply construction adhesive to the top edge.
- Press it tight against the underside of the subfloor and the side of the joist.
- Screw it into the joist.
This adds support and stops the subfloor from moving.
Which Fix Should You Use?
| Situation | Best Fix | Access Needed |
|---|---|---|
| Hardwood boards rubbing together | Powder or graphite | From above |
| Board loose from subfloor | Trim-head screws | From above |
| Carpeted floor | Squeak repair kit | From above |
| Small gap between joist and subfloor | Shims with adhesive | From below |
| Long gap along joist | Construction adhesive | From below |
| Subfloor moving | Screws from below | From below |
| Floor flexes between joists | Cleat or blocking | From below |
How to Prevent Creaky Floors
- Control humidity. Keep indoor humidity between about 35% and 55%. Use a humidifier in winter and a dehumidifier in summer.
- Use area rugs with rug pads in high-traffic areas to reduce friction.
- Fix squeaks early before boards loosen further.
- Check for moisture problems in basements and crawl spaces, since damp wood moves more.
If your home has other squeaky spots, our guide on how to fix a squeaky door can quiet those too. And if a screw just spins without biting while you’re making repairs, here’s how to fix a stripped screw hole in wood.
When to Call a Professional
DIY fixes work for most squeaks, but call a contractor if you notice:
- Sagging or uneven floors
- A floor that feels bouncy or soft
- Water damage, rot or mold on joists or subfloor
- Cracks in walls near the creaky area
These can be signs of bigger structural issues.

Frequently Asked Questions
Can you fix creaky floorboards without removing carpet?
Yes. Squeak repair kits are designed to work through carpet. They use breakaway screws that disappear below the carpet surface.
Is a creaky floor a sign of a structural problem?
Usually not. Most creaks come from minor movement between wood and nails. Bouncing, sagging or soft spots are the warning signs to watch for.
Why are my floors creakier in winter?
Dry winter air causes wood to shrink, which opens small gaps between boards and fasteners. Using a humidifier can help.
How much does it cost to fix creaky floorboards?
DIY fixes often cost under $30 for powder, screws or a repair kit. Professional repairs vary depending on the cause and access.
Final Thoughts
Learning how to fix creaky floorboards starts with finding the exact source of the squeak. For quick relief, use powder between boards. For lasting results, screw loose boards to the joists from above, or add shims, adhesive or blocking from below. Most fixes take less than an hour and a few dollars, and the silence is well worth it.