

That steady drip, drip, drip isn’t just annoying. A leaky faucet wastes a surprising amount of water. According to the U.S. Environmental Protection Agency, a faucet leaking at one drip per second can waste more than 3,000 gallons a year. That’s money down the drain.
The good news is that most faucet leaks are caused by a worn-out part that costs a few dollars to replace. This guide shows you how to fix a leaky faucet step by step, starting with identifying your faucet type, so you can stop the drip in an afternoon.
Why Faucets Leak
Most leaks come from one of these parts:
- Worn washer: Common in older compression faucets. Rubber washers wear down after years of being pressed against the valve seat.
- Damaged O-ring: A small rubber ring that seals the stem or spout. A worn O-ring often causes leaks around the handle.
- Corroded valve seat: The connection between the faucet and spout can corrode from mineral buildup.
- Worn cartridge: Many modern faucets use a cartridge to control water flow. When it wears out, the faucet drips.
- Loose parts: Nuts and packing can loosen over time.
First, Identify Your Faucet Type
There are four main types of faucets, and the repair is slightly different for each.
| Faucet Type | How It Works | Common Leak Fix |
|---|---|---|
| Compression | Two handles, you twist to tighten | Replace rubber washer and seat washer |
| Cartridge | One or two handles, smooth up/down or side motion | Replace the cartridge and O-rings |
| Ball | Single handle that rotates over a rounded ball cap | Replace seals, springs and O-rings |
| Ceramic disc | Single lever over a wide cylinder body | Clean or replace the ceramic disc cartridge and seals |
If you’re unsure, look at the brand on the faucet and search the model number on the manufacturer’s website. Many brands also offer free replacement parts under warranty.
What You’ll Need
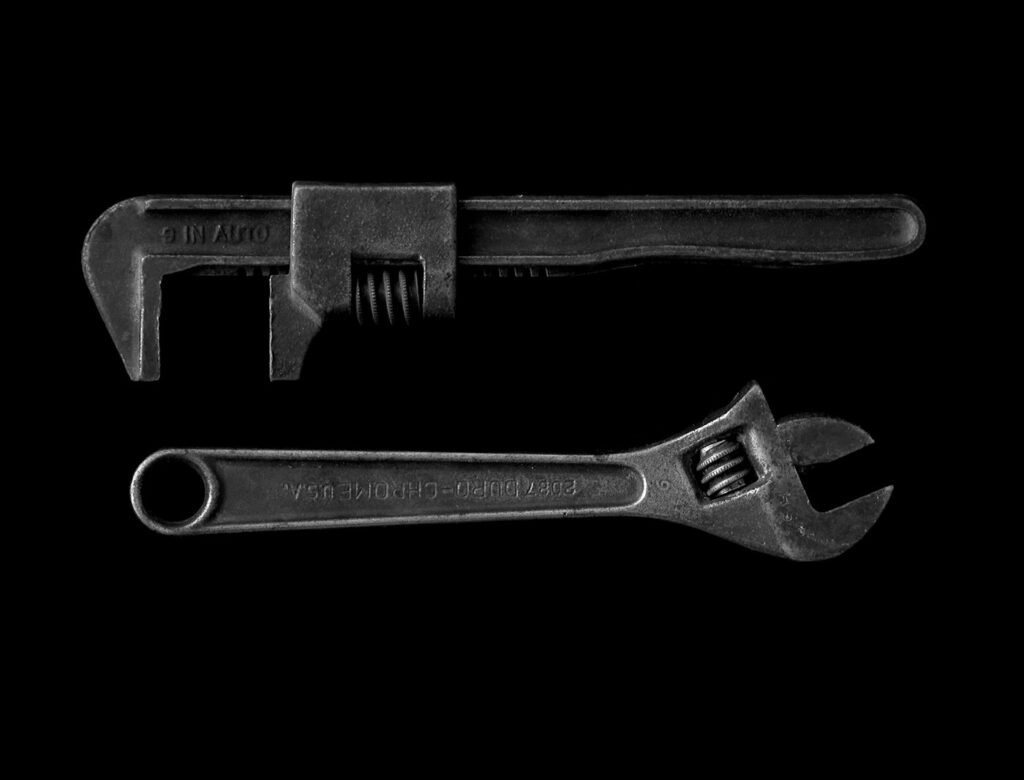
- Adjustable wrench
- Phillips and flathead screwdrivers
- Allen wrench set (hex keys)
- Replacement parts (washers, O-rings, cartridge, or repair kit for your faucet)
- Plumber’s grease (silicone-based)
- White vinegar and a scrubbing pad for mineral buildup
- Towel or rag
- Plumber’s tape (optional)
Tip: Take the old part with you to the hardware store so you can match it exactly.
Before You Start: Prep Your Workspace
- Turn off the water supply. Look under the sink for two shutoff valves and turn them clockwise until they stop. Then open the faucet to drain any remaining water and confirm the water is off.
- Plug the drain. Use a sink stopper or rag so small screws and parts don’t fall down the drain.
- Lay out a towel and arrange parts in the order you remove them. Snap a photo with your phone at each step to make reassembly easy.
How to Fix a Leaky Compression Faucet
- Remove the handle. Pry off the decorative cap, unscrew the handle screw and pull the handle off.
- Unscrew the stem. Use an adjustable wrench to loosen and remove the packing nut and stem.
- Replace the washer. At the bottom of the stem, you’ll find a rubber washer held in by a brass screw. Remove the screw, replace the washer with an exact match and reattach.
- Replace the O-ring. Slide off the old O-ring from the stem and roll on a new one. Coat it lightly with plumber’s grease.
- Check the valve seat. If it’s rough or corroded, replace it with a seat wrench or smooth it with a seat-dressing tool.
- Reassemble the stem, packing nut and handle.
How to Fix a Leaky Cartridge Faucet
- Remove the handle. Pop off the cap, remove the screw and lift the handle off.
- Remove the retaining clip if your faucet has one. Use needle-nose pliers.
- Pull out the cartridge. Grab the stem with pliers and pull straight up. Note which way it faces.
- Replace the cartridge with an identical one, matching its position exactly. If only the O-rings are worn, replace those and grease them.
- Reinstall the clip and handle.
How to Fix a Leaky Ball Faucet
Ball faucets have more small parts, so a manufacturer repair kit is the easiest option.
- Remove the handle by loosening the set screw with an Allen wrench.
- Remove the cap and collar with adjustable pliers wrapped in a cloth.
- Lift out the cam, washer and ball.
- Replace the inlet seals and springs. Use a small screwdriver to remove the old ones from inside the faucet body, then press in new ones.
- Replace O-rings on the faucet body and coat with plumber’s grease.
- Reassemble in the reverse order.
How to Fix a Leaky Ceramic Disc Faucet
- Remove the handle by loosening the set screw.
- Remove the escutcheon cap and unscrew the disc cartridge mounting screws.
- Lift out the cartridge and check the neoprene seals underneath.
- Clean the seals and openings. Soak them in white vinegar for a few hours to dissolve mineral buildup.
- Replace damaged seals or the full cartridge if the discs are cracked.
- Reassemble, then turn the water on slowly. Ceramic discs can crack if hit with a sudden burst of pressure.
Turn the Water Back On and Test
- Make sure the faucet handle is in the off position.
- Turn the shutoff valves back on slowly, counterclockwise.
- Turn on the faucet and let it run for a minute to clear air and debris.
- Turn it off and watch for drips. Check under the sink for any leaks.
When to Call a Plumber
Call a professional if:
- The faucet still leaks after replacing parts
- Water leaks from the base or under the sink
- Pipes or shutoff valves are corroded or won’t turn
- The faucet body is cracked
- Your water pressure is unusually high
Sometimes, replacing an old faucet is smarter than repairing it, especially if it’s more than 15 years old.
Prevent Future Faucet Leaks
- Don’t overtighten handles. This wears washers and cartridges faster.
- Clean aerators every few months to remove mineral buildup.
- Use a water softener if you have hard water.
- Check for drips regularly and fix them early.
Keeping bathroom and kitchen fixtures sealed also protects against water damage. If the caulk around your tub is cracked, follow our guide on how to recaulk a bathtub. And while you have the toolbox out, you can quiet a noisy hinge with our tips on how to fix a squeaky door.
Frequently Asked Questions
How much does it cost to fix a leaky faucet yourself?
Most DIY repairs cost between $5 and $30 for washers, O-rings or a repair kit. Replacement cartridges can cost $15 to $60 depending on the brand.
Why does my faucet still drip after replacing the washer?
The valve seat may be corroded or damaged, or the wrong size washer was used. Check the seat and make sure the replacement parts match exactly.
Can a leaky faucet raise my water bill?
Yes. Even a slow drip adds up to thousands of gallons a year, which shows up on your bill.
How long does it take to fix a leaky faucet?
Most repairs take 30 minutes to an hour once you have the right parts.
Final Thoughts
Now you know how to fix a leaky faucet without calling a plumber. Identify your faucet type, turn off the water, replace the worn washer, O-ring or cartridge and reassemble carefully. It’s one of the easiest home repairs you can do, and it saves water, money and your sanity from that endless drip.