

A doorknob slams into the wall, a moving box gets away from you, or you pull out an old TV mount and leave a crater behind. Small nail holes are easy to fill, but a hole the size of your fist (or bigger) needs a real patch.
The good news is that you don’t need to be a pro. With a few basic tools and an afternoon, you can learn how to patch a large hole in drywall so well that nobody will ever know it was there. This guide walks you through the most reliable method step by step.
Which Repair Method Do You Need?
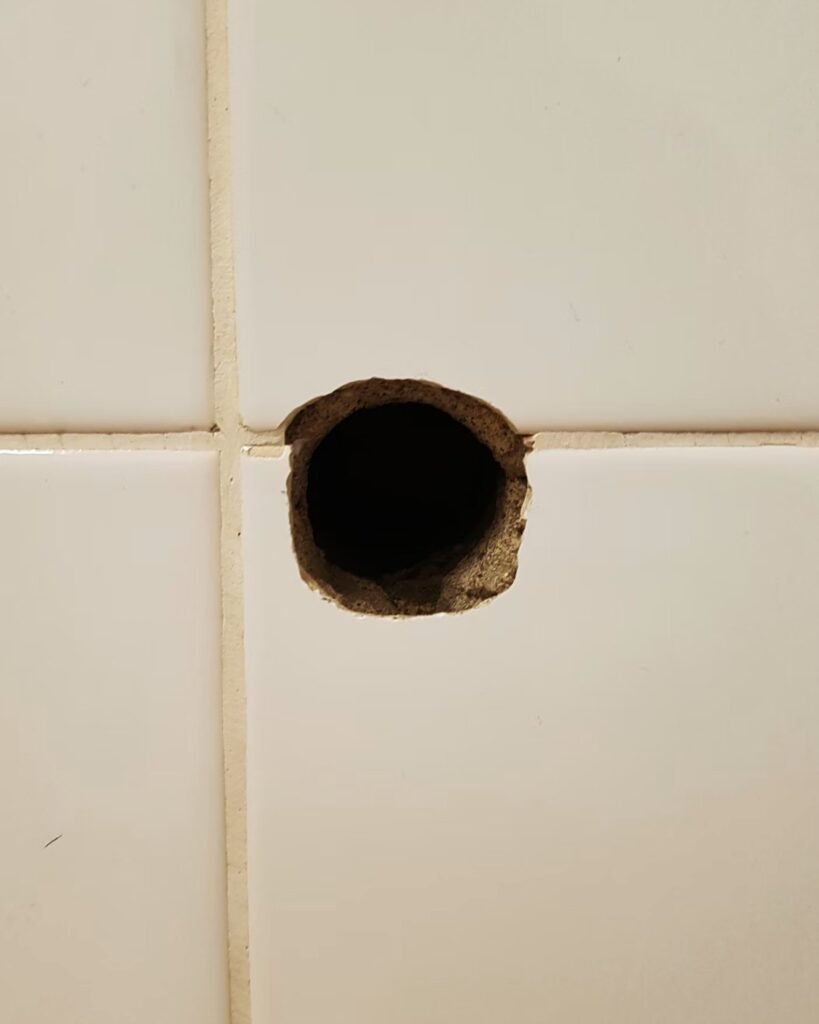
The right fix depends on the size of the hole:
| Hole size | Best repair method |
|---|---|
| Nail and screw holes | Spackle only |
| Up to about 2 inches | Spackle or a small self-adhesive patch |
| About 2 to 6 inches | Self-adhesive mesh patch or the “California patch” |
| 6 inches and larger | New piece of drywall with wood backing (this guide) |
This guide focuses on large holes, roughly 6 inches and up, where you’ll cut in a new piece of drywall. The same finishing steps apply to smaller patches too.
Tools and Materials
- Scrap piece of drywall (match the thickness, usually 1/2 inch for walls)
- Drywall saw (jab saw) and utility knife
- Two wood furring strips or 1×3 boards, a few inches longer than the hole
- 1-1/4 inch drywall screws and a drill/driver
- Paper or mesh drywall tape
- Joint compound (all-purpose or lightweight)
- 6-inch and 10 or 12-inch drywall knives
- Fine sanding sponge or 120 to 150 grit sandpaper
- Primer and paint to match
- Tape measure, pencil, carpenter’s square
- Dust mask and safety glasses
Before You Cut: Safety Check
Large holes often sit near hidden wires or pipes. Turn off power to nearby outlets and switches, and look inside the hole with a flashlight before cutting. Use a stud finder to locate studs on either side. In homes built before the 1980s, test for asbestos in old joint compound before sanding.
How to Patch a Large Hole in Drywall: Step by Step
Step 1: Square up the hole
Ragged edges are hard to patch. Use a carpenter’s square to draw a neat rectangle around the damage, then cut along the lines with a drywall saw. Clean, straight edges make it much easier to fit your new piece.
Step 2: Add wood backing
Slide a furring strip inside the hole so it spans across the opening behind the wall, extending a few inches past each side. Hold it firmly and drive drywall screws through the wall into the strip to secure it. Repeat on the opposite side. These strips give your patch something solid to attach to. If the hole is next to a stud, you can screw into the stud instead.
Step 3: Cut and fit the patch
Measure the opening and cut a matching piece from your scrap drywall. Score the face with a utility knife, snap it, and cut the paper backing. Test the fit. It should slide in snugly with about a 1/8 inch gap around the edges.
Step 4: Screw the patch in place
Press the patch into the opening and drive screws through it into the wood backing, about every 4 to 6 inches. Sink the screw heads just below the surface without tearing the paper.
Step 5: Tape the seams
Spread a thin layer of joint compound over the seams with a 6-inch knife. Press paper tape into the wet compound and smooth it flat with your knife to squeeze out air bubbles. (If you use self-adhesive mesh tape, apply it first and then spread compound over it.) Cover the screw heads with compound too.
Step 6: Apply the second and third coats
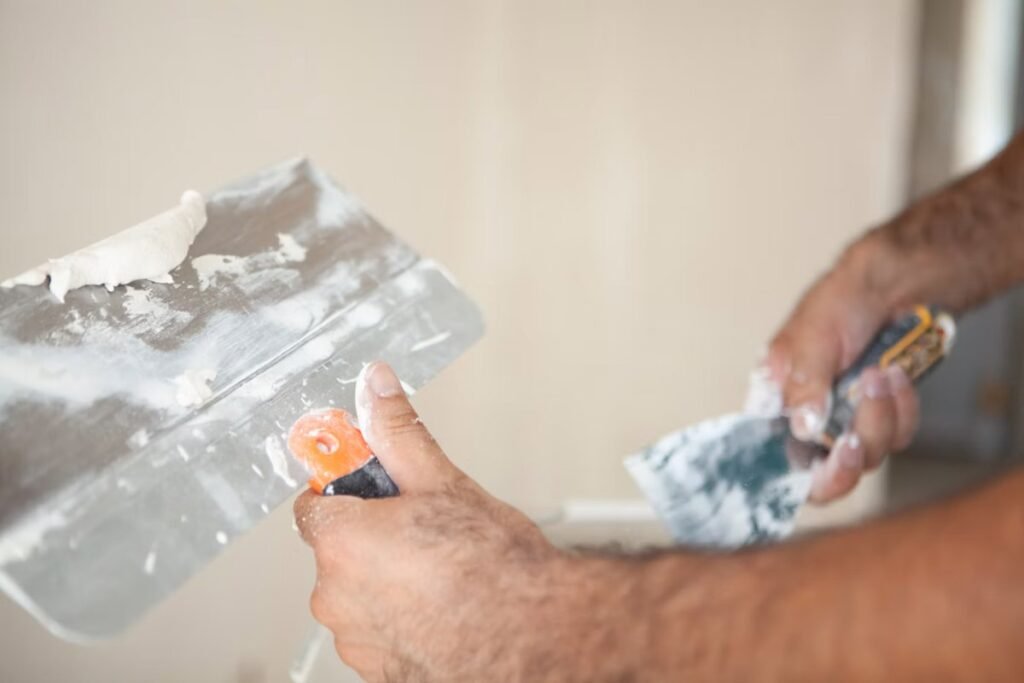
Let the first coat dry completely, usually overnight. Then apply a wider, thinner coat with a 10 or 12-inch knife, feathering the edges several inches beyond the first coat. Repeat with a third skim coat if needed. The goal is a gentle, gradual slope that blends into the wall, not a visible bump.
Step 7: Sand it smooth
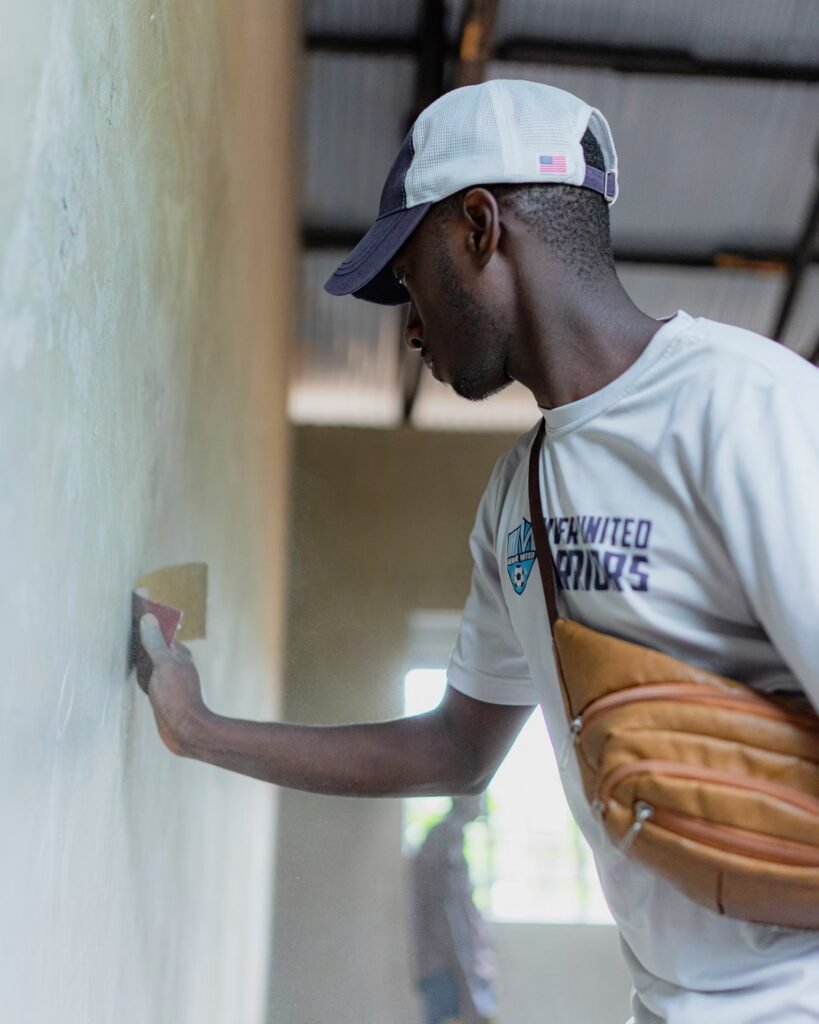
Once dry, lightly sand with a fine sanding sponge. Shine a flashlight across the wall at a low angle to spot ridges or dips. Fill any low spots with a little more compound and sand again. Don’t oversand, or you’ll scuff the paper face of the drywall.
Step 8: Prime and paint
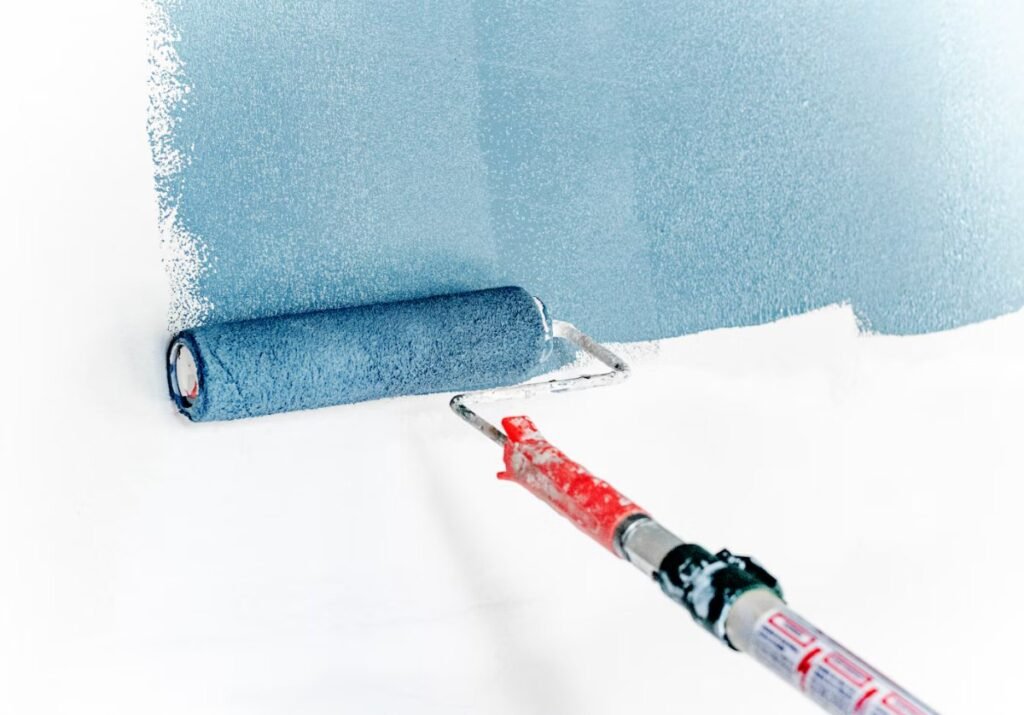
Joint compound absorbs paint differently than the rest of the wall, so always prime the patch first. Otherwise you may see a dull “flash” spot through the paint. Once the primer is dry, paint the patch. For the best blend, paint the whole wall from corner to corner, or at least feather the paint well beyond the repair.
Quick Alternative: Mesh Patch for Medium Holes
For holes from about 2 to 6 inches, a self-adhesive metal-reinforced mesh patch is faster. Clean the area, stick the patch over the hole, then cover it with two or three thin coats of joint compound, feathering each coat wider. Sand, prime and paint as above. It’s a great option when you don’t have scrap drywall on hand.
Pro Tips for an Invisible Repair
- Thin coats beat thick ones. Thick compound cracks and takes forever to dry.
- Use setting-type compound for speed. Powdered “hot mud” (like Easy Sand 20 or 45) hardens chemically and lets you apply more coats the same day.
- Match the wall texture. For orange peel or knockdown walls, use a spray-can texture before priming.
- Keep your knife clean. Dried bits of compound leave streaks and grooves.
- Work in good light. Side lighting reveals imperfections you’d miss otherwise.
Common Mistakes to Avoid
- Skipping the wood backing, which leaves the patch loose and prone to cracking
- Rushing coats before the previous layer is fully dry
- Piling compound into a hump instead of feathering it wide
- Painting directly over compound without primer
- Cutting into the wall without checking for wires and pipes
Running into other wall and woodwork problems? See our guides on fixing a stripped screw hole in wood and fixing a squeaky door. And if you need supplies, our Home Depot guide explains what to look for.
How Long Does It Take?
Actual hands-on work is about 1 to 2 hours. Drying time is the real wait. With regular premixed compound, plan on 2 to 3 days to allow each coat to dry overnight. With setting-type compound, you can often finish in a single day.
Frequently Asked Questions
Can you patch a large hole in drywall without a stud?
Yes. That’s exactly what the wood backing strips are for. They create a solid surface inside the wall so you can screw the patch in place anywhere.
What is the best way to patch a big hole in drywall?
For holes larger than about 6 inches, cutting in a new piece of drywall with wood backing, then taping and finishing the seams, gives the strongest and most invisible result.
Can I use spackle on a large hole?
No. Spackle is meant for small holes and dents. On large holes, it will sag, shrink and crack. Use a patch and joint compound instead.
How much does it cost to patch a large drywall hole?
DIY materials typically cost $20 to $40 if you’re buying compound, tape and a small drywall panel. Hiring a handyman usually runs about $150 to $400 depending on size, texture and paint matching.
Final Thoughts
Patching a large hole in drywall looks intimidating, but it’s really just a sequence of simple steps: square the hole, add backing, screw in a patch, then tape, mud, sand and paint. Take your time with the thin finishing coats and your wall will look as good as new.